


Bathroom cabinets take a beating from daily moisture and humidity, often making them look worn and dated before the rest of your bathroom. Giving them a fresh coat of paint can completely transform your space without the expense of full replacement. While some homeowners choose to hire painting contractors in Columbus for larger renovation projects, painting bathroom cabinets is a manageable DIY task that can save you money and deliver impressive results. This guide walks you through the complete process, from preparation to maintenance, so that you can achieve professional-looking results.
Prepping the Cabinets
Before starting to paint, we thoroughly clean and sand the bathroom cabinets to ensure a smooth and long-lasting finish. Cleaning involves removing any dust, grime, or residue using a mild detergent and water solution. Once dry, we lightly sand the surface to create a rough texture that allows the paint to adhere. This step is crucial in ensuring the paint adheres properly and prevents flaking or chipping in the future. After sanding, we wipe down the cabinets again to remove any remaining dust particles. This careful preparation process may seem tedious, but it lays the foundation for a professional-looking paint job that will stand the test of time.
Choosing the Right Paint
To ensure a smooth finish on our carefully prepped bathroom cabinets, selecting the right paint is key. The paint choice can make or break the entire updating process. When it comes to bathroom cabinets, we need paint that is not only durable but also resistant to moisture. Choose a high-quality enamel paint with a semi-gloss or satin finish to withstand the humid environment of a bathroom. These finishes are not only easy to clean but also provide a sleek appearance that enhances the overall look. Remember to select a color that complements the bathroom’s theme and style. With the perfect paint choice, our bathroom cabinets will not only look stunning but will also stand the test of time.
Applying the Paint
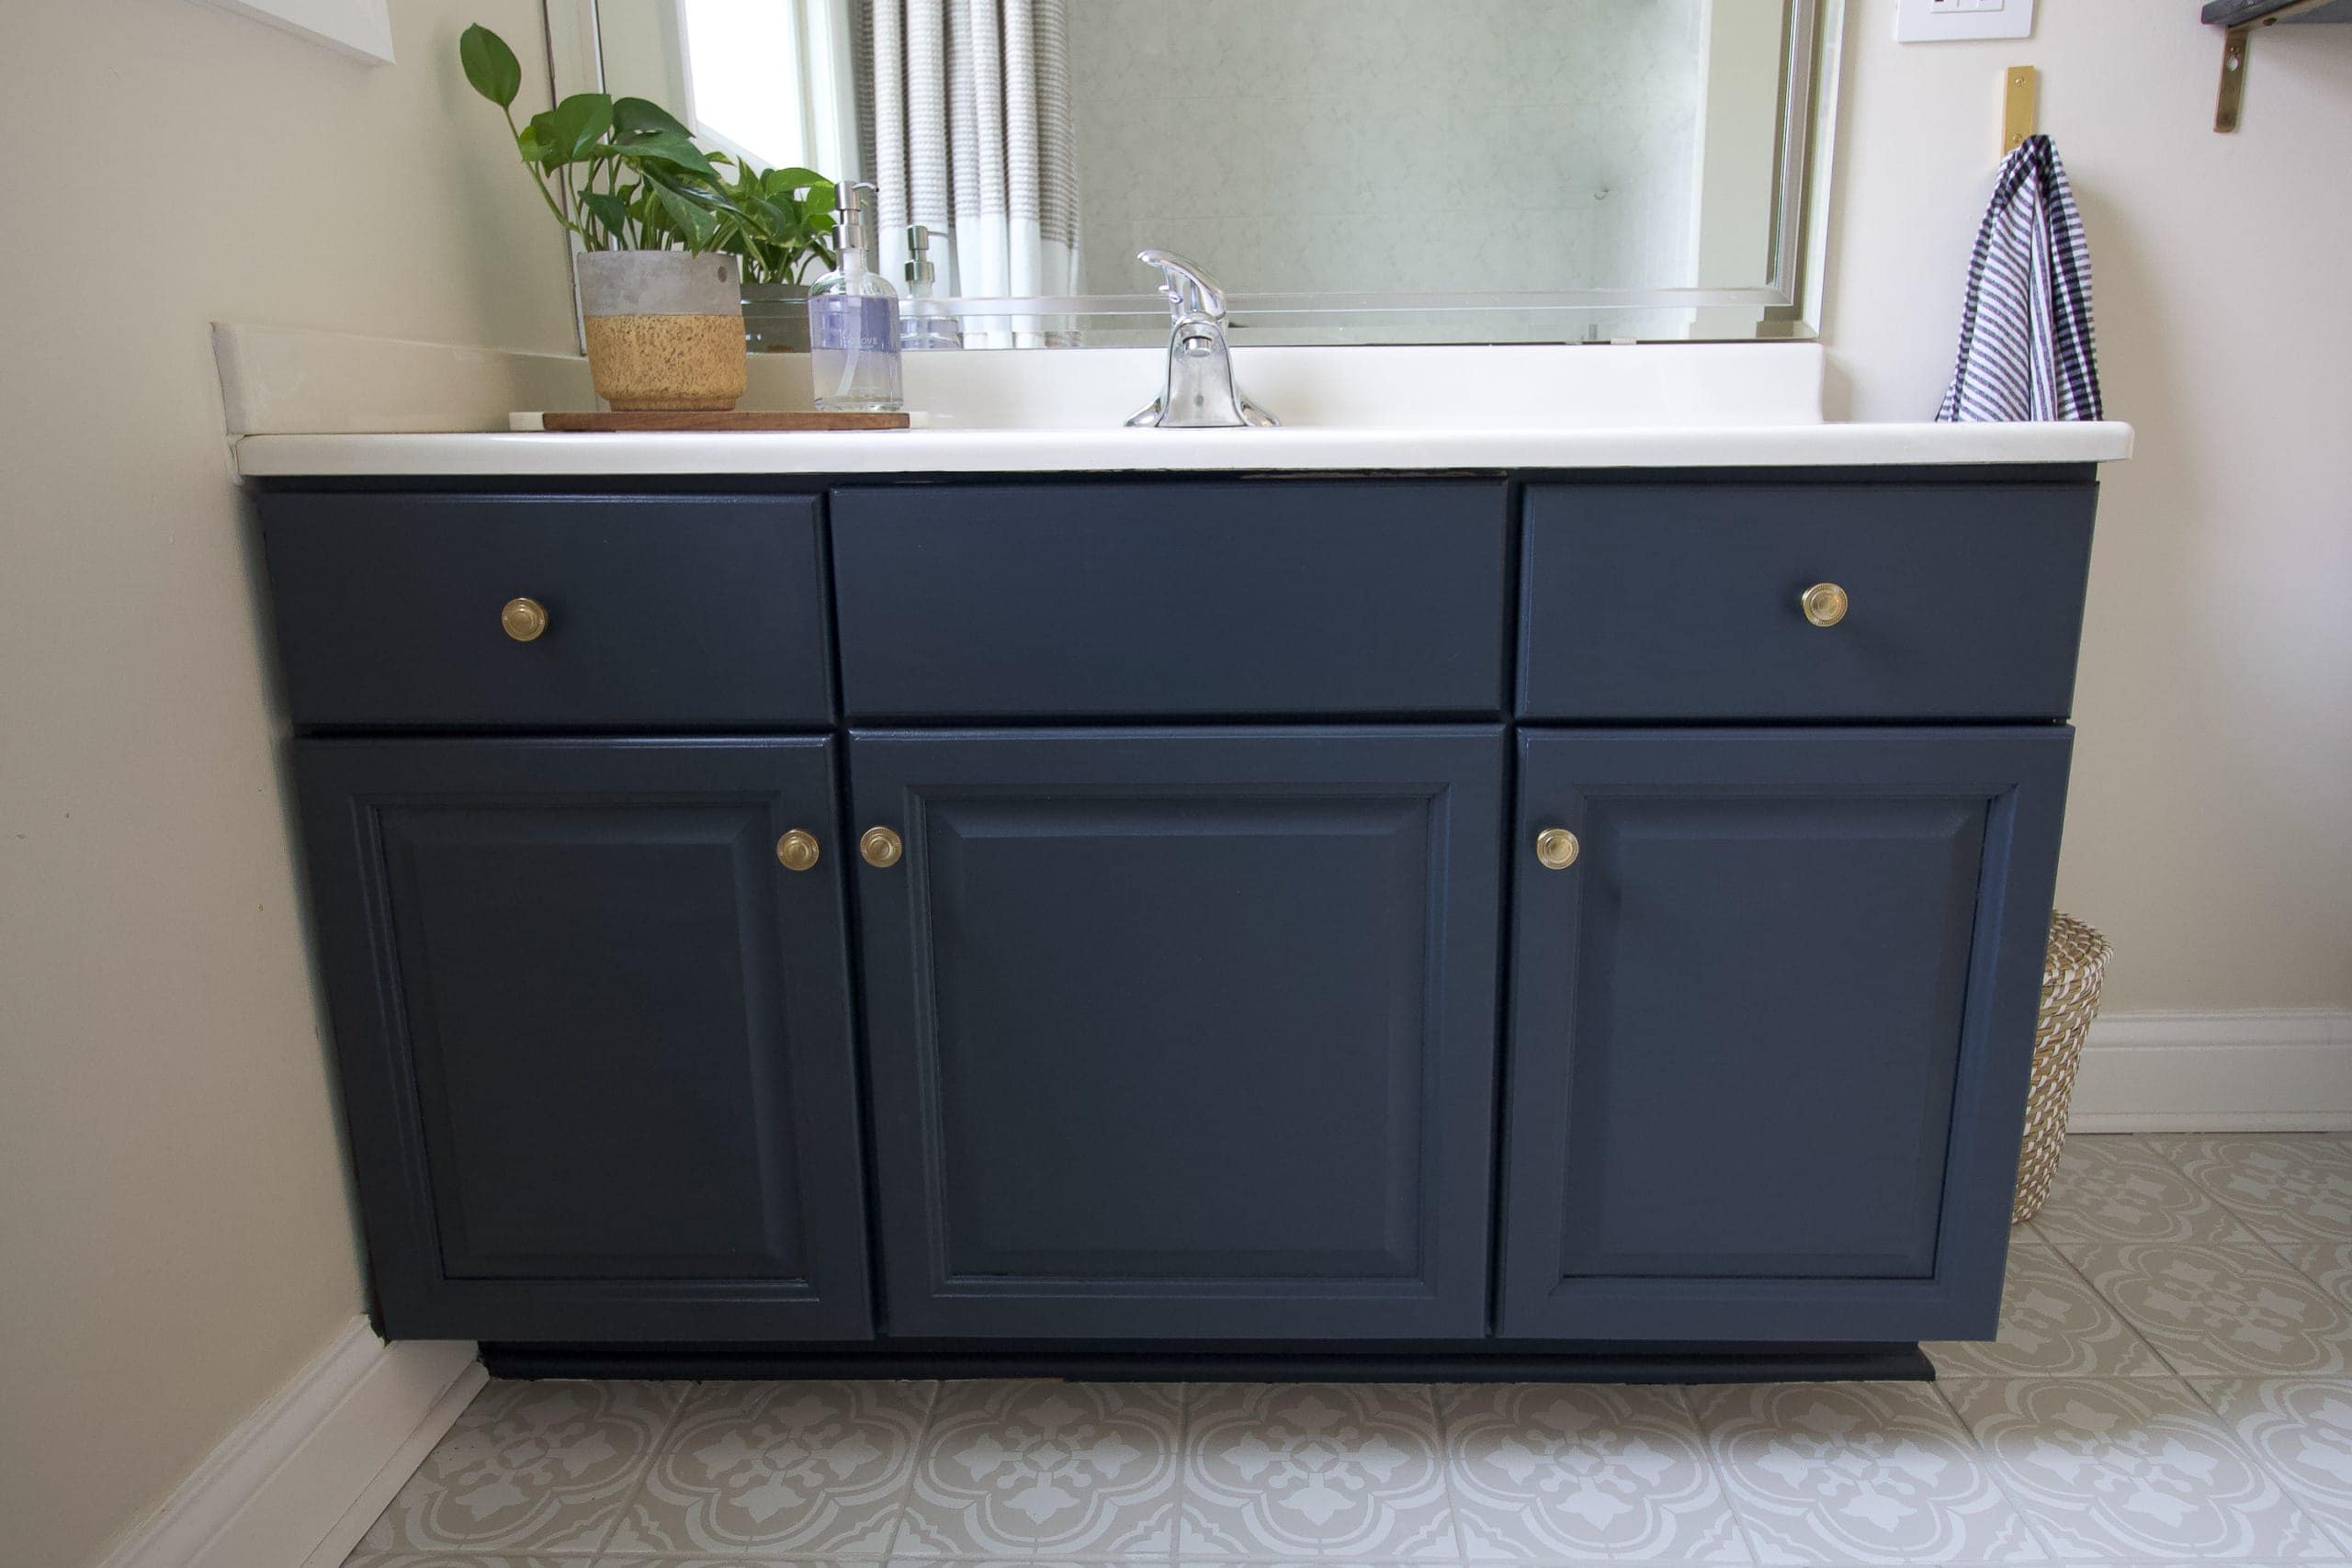
Let’s dive into the transformative process of painting our bathroom cabinets, making sure a smooth application that improves both form and function. Before proceeding, ensure the cabinet surfaces are clean and dry. Start by applying a high-quality primer to create a smooth base for the paint to stick to. Using a paintbrush or a roller, apply the paint evenly in long, smooth strokes, following the wood grain if present. For a professional finish, consider applying two to three coats, allowing sufficient drying time between each layer. Keep an eye out for drips or bubbles and smooth them out promptly. Once the paint has dried completely, carefully reattach the hardware and admire your refreshed bathroom cabinets, now showing a fresh and polished look.
Adding Finishing Touches
As we approach the final stage of the cabinet painting process, attention to detail in adding finishing touches will improve the overall look of our bathroom space. Here are four key elements for achieving a polished look:
- Hardware Upgrade: Swap out old knobs and handles with modern designs for a fresh and sophisticated appearance.
- Decorative Molding: Add decorative trim or molding to enhance the depth and style of the cabinet doors.
- Glass Inserts: Consider installing glass inserts to showcase items inside the cabinets while maintaining a sleek look.
- Under-Cabinet Lighting: Enhance the space with under-cabinet lighting to create a warm ambiance and accentuate the newly painted cabinets.
Maintaining Your Painted Cabinets
As our painted bathroom cabinets now display a fresh charm, ensuring their longevity and clean appearance involves adopting a mindful maintenance routine. To maintain the vibrancy of the paint, gently clean the cabinets with a mild soap and water solution using a soft cloth. Avoid harsh chemicals that can damage the finish. Periodically inspect the cabinets for signs of wear or chipping and address these issues promptly to prevent further damage. Consider applying a clear top coat to provide an extra layer of protection against moisture and everyday wear and tear. Be careful with sharp objects that may scratch the surface, and avoid placing hot items directly on the cabinets to preserve their beauty for years to come.
Related Topics:
- How to Paint a House: A Beginner’s Guide to Getting Started
- How to Paint Interior Doors: Tips and Tricks for a Smooth Finish