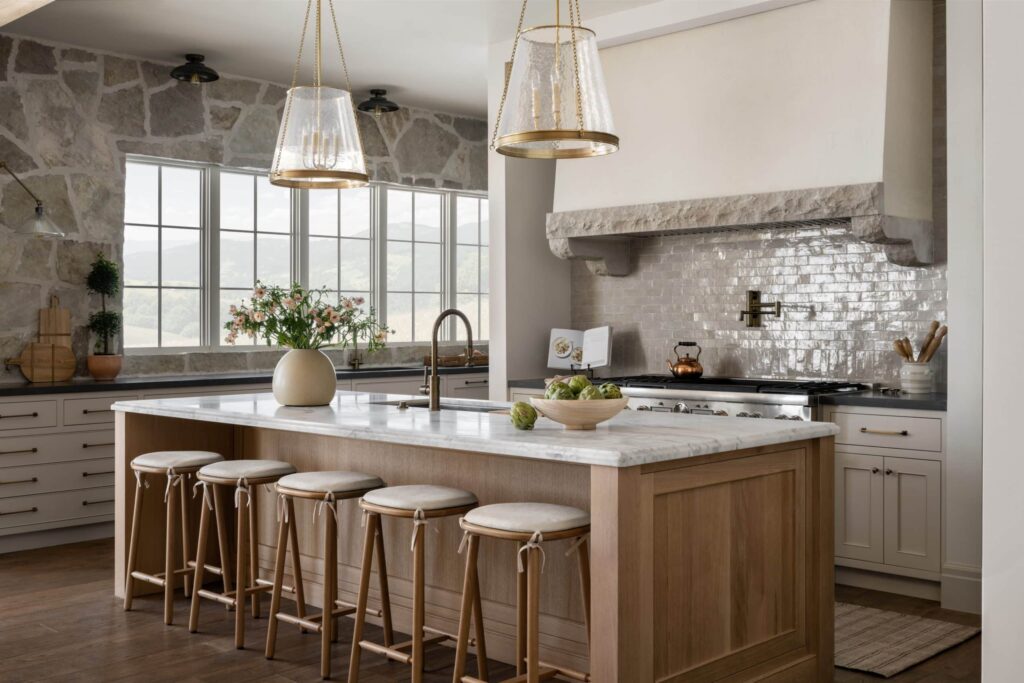
Kitchen cabinets are one of the most noticeable features in your home, so giving them a fresh look can dramatically change your entire kitchen. This project might seem intimidating at first, but with proper planning and technique, it’s something many homeowners can accomplish. You can either tackle this yourself or work with a reliable painting crew if you prefer professional results. This guide breaks down the cabinet painting process into manageable steps, from preparation to the final finishing touches, that will make your kitchen look completely new.
Preparing Your Cabinets
Before starting the transformation, we need to prepare our kitchen cabinets for their new appearance carefully. Start by removing all hardware and hinges and labeling each piece for easy reassembly. Thoroughly clean the surfaces with a degreaser to remove any built-up grime and ensure proper paint adhesion. Use wood filler to patch any dents or scratches, sanding them smooth once dry. Next, lightly sand all cabinet surfaces to create a rough texture for the paint to grip onto. Wipe down the cabinets with a tack cloth to remove any lingering dust particles. Tape off areas you want to protect from paint and lay down drop cloths to protect your floor. Proper preparation is important for achieving a smooth finish.
Choosing the Right Paint
When updating your kitchen cabinets, selecting the appropriate paint is important for achieving a professional and long-lasting finish. The right paint can transform your cabinets into stunning focal points of your kitchen. Select a high-quality, durable paint specifically formulated for cabinets to achieve a smooth and satisfactory finish. Consider choosing paint with a semi-gloss or satin finish, as they are easier to clean and more resistant to moisture and stains. Look for paints that offer good coverage to minimize the number of coats needed for a uniform appearance. Remember to select a color that complements your kitchen’s overall look and style for a truly remarkable transformation.
Cleaning and Sanding
To ensure a smooth and perfect paint application, thorough cleaning and sanding of the kitchen cabinets is important. Begin by removing all hardware and using a mild wood cleaner to remove grease and grime. Once clean, lightly sand the surfaces to create a rough texture for the new paint to adhere to. Here are three important steps to follow during the cleaning and sanding process:
- Degrease: Wipe down all cabinet surfaces with a degreaser to ensure the paint adheres properly.
- Sand: Use fine-grit sandpaper to lightly sand the cabinet doors and frames, promoting paint adhesion.
- Remove Dust: After sanding, wipe down the cabinets with a tack cloth to remove any remaining dust particles before painting.
Applying Primer and Paint
Let’s now dive into the transformative process of applying primer and paint to your freshly cleaned and sanded kitchen cabinets. Before we begin, make sure the area is well-ventilated and cover surfaces to protect them from drips. Start by applying a high-quality primer, using smooth, even strokes to create a good base for the paint to stick to. Allow the primer to dry completely before gently sanding any imperfections. Next, it’s time for the exciting part – painting! Choose a durable paint specifically designed for cabinets and apply it in thin, uniform coats, allowing each layer to dry before adding another. Use the brush carefully, making sure it has full coverage and a smooth finish. With precision and care, your cabinets will soon be reborn in a fresh, vibrant color.
Finishing Touches
As we bring our painted kitchen cabinets to life with color and vibrancy, the finishing touches will raise their appearance and functionality to a whole new level. To truly complete the transformation, consider these key elements:
- Hardware Upgrade: Replace old knobs and handles with modern, stylish hardware that complements your new cabinet’s color.
- Interior Lighting: Install under-cabinet lighting to not only light up your workspace but also create a warm ambiance in the kitchen.
- Organizational Inserts: Add pull-out shelves, drawer dividers, and lazy Susans to maximize storage efficiency and keep your cabinets clutter-free.
Related Topics:

